Hot Reload, Layouts 을 먼저 공부해보고
⇒ 다양한 위젯으로 Mi card App 만들기!
비즈니스 카드 앱을 만들어 보자!
londonappbrewery/mi_card_flutter
londonappbrewery/mi_card_flutter
Starter code for the Mi Card Project from the Complete Flutter Development Bootcamp - londonappbrewery/mi_card_flutter
github.com
- 강의에서는 위 깃헙에서 clone해 진행했습니다.
코드 작성
- 깃헙에서 클론한 프로젝트로 실습을 진행한다.
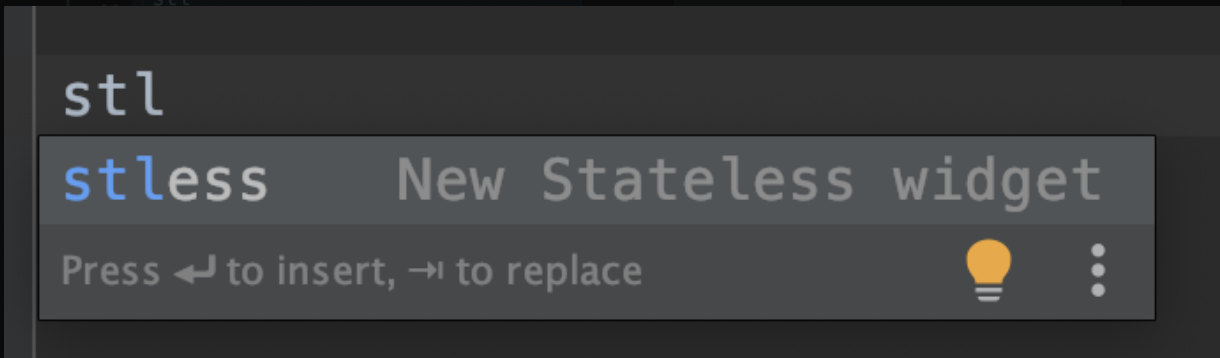
Stateless widget
- 우선 stateless widget을 만들었다.
-
stless을 타이핑한 뒤 엔터를 치면
stateless widget을 빠르게 만들 수 있다.
-
아래 코드가 StatelessWidget이다.
class  extends StatelessWidget {
  @override
  Widget build(BuildContext context) {
    return Container();
  }
}
class extends StatelessWidget {
@override
Widget build(BuildContext context) {
return Container();
}
}- StatelessWidget을 만들었다면, 다음과 같이 기존에 있던 main 코드의 내용을 옮긴다.
class MyApp extends StatelessWidget {
  @override
  Widget build(BuildContext context) {
    return     MaterialApp(
      home: Scaffold(
        backgroundColor: Colors.teal,
        body: Container(),
      ),
    );
  }
}
// 기존에 있던 main의 코드를 return 값으로 넘긴 뒤 main의 코드를 변경한다.
void main() {
  runApp(
    MyApp()
  );
}
class MyApp extends StatelessWidget {
@override
Widget build(BuildContext context) {
return MaterialApp(
home: Scaffold(
backgroundColor: Colors.teal,
body: Container(),
),
);
}
}
// 기존에 있던 main의 코드를 return 값으로 넘긴 뒤 main의 코드를 변경한다.
void main() {
runApp(
MyApp()
);
}Hot reload
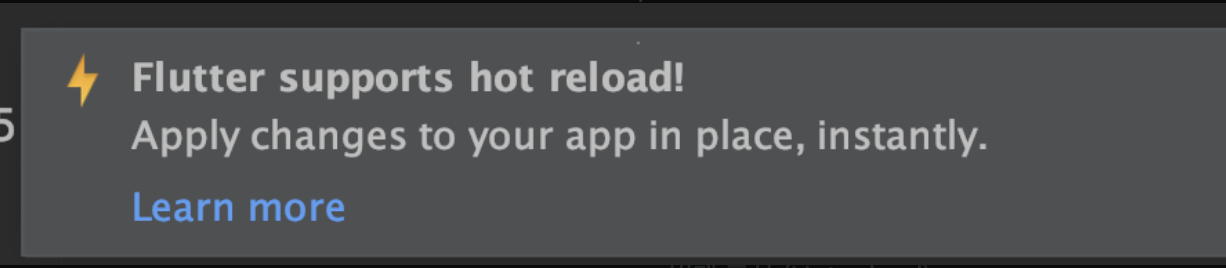
- Run 버튼을 통해 수정된 사항을 적용시키려면, 오랜 시간이 걸린다.
- 저장을 하거나 직접 hot reload 버튼을 눌러준다면, ( Cmd + \) 수정된 결과를 바로 확인해볼 수 있고, 에러를 잡는데에도 도움이 될 것이다.
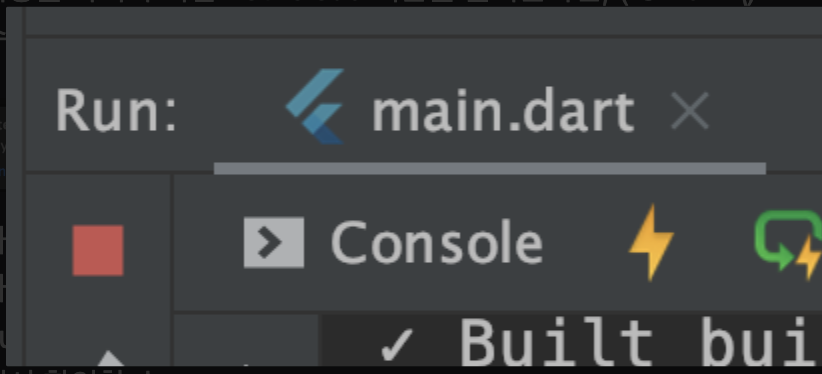
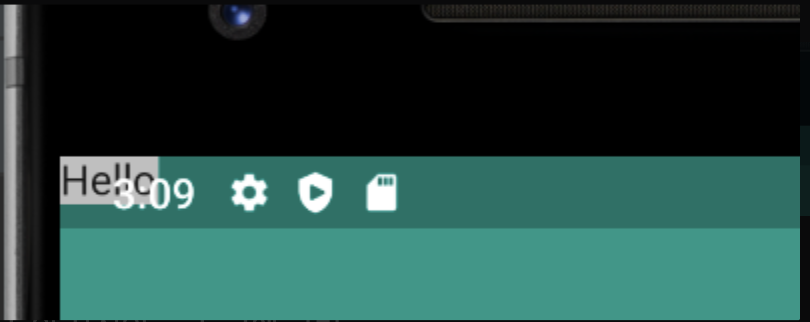
- 좌측 하단의 hot reload 기능을 사용해 build 함수의 변경을 빠르게 앱에서 확인할 수 있었다.
- 배경색을 변경한 뒤 hot reload를 적용시켰다.
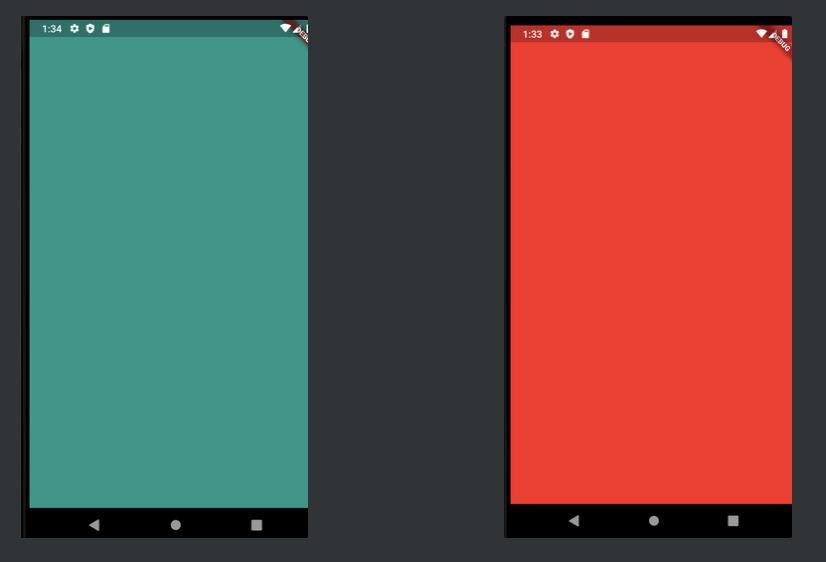
-
UI 변경을 할 때, hot reload를 사용하면 아주 좋다.
hot reload는 하더라도 데이터를 잃지 않는다.
-
데이터도 리셋시키고 싶다면, 번개표시 오른쪽의 hot restart를 사용한다.
Container()
- Container는 layout의 일종이다.
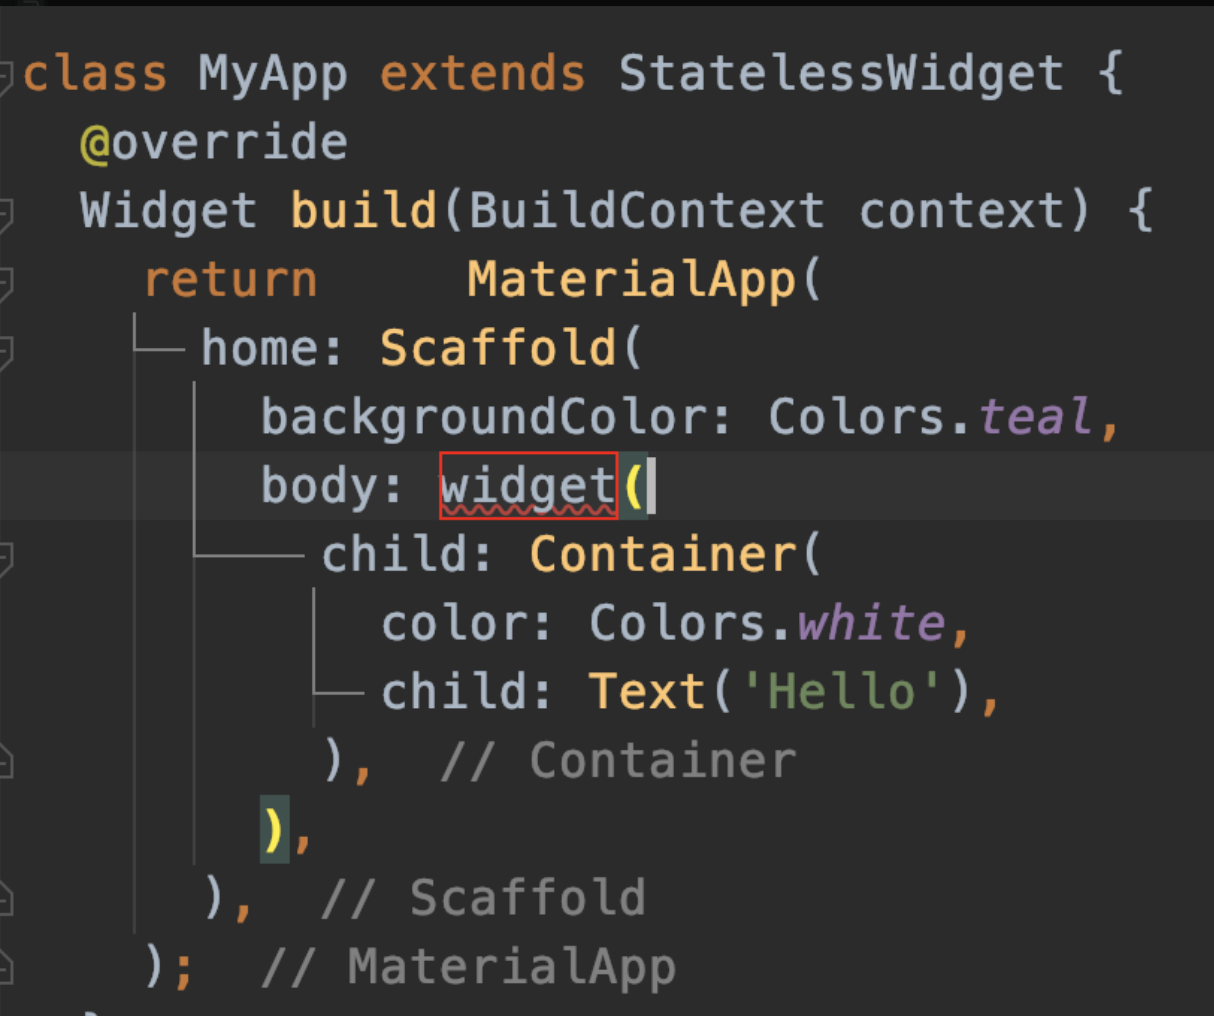
- 기존 코드의 body에 바로 Container() 객체를 그린다면 상태 표시줄이나 노치 부분을 침범하게 된다.
- body의 자식인 widget에 그릴 필요가 있다.

- ALT + ENTER | opt + ENTER 키로 Container() 에서 Wrap with widget을 해준다.
- 기존 Container()를 새 위젯 SafeArea의 자식으로 감싼다.
- Hot reload를 해주면 깔끔하게 내려온다.

margin: EdgeInsets.only(left:30.0)

margin: EdgeInsets.fromLTRB(L,T,R,B)

margin: EdgeInsets.symmetric(v, h)

margin: EdgeInsets.all(20.0)
//margin: EdgeInsets를 통해
//다양한 방법으로 바깥 여백을 만들 수도 있었다.


padding: EdgeInsets.all(20.0)
// padding: EdgeInsets도 역시
// 안쪽 여백을 조절할 수 있다.
레이아웃
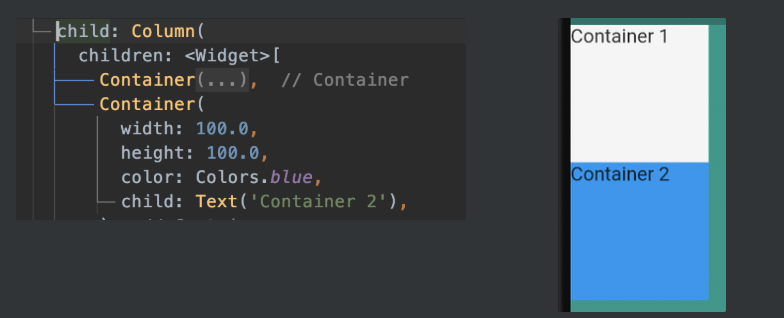
- 컨테이너 객체를 여러개 그릴 수도 있다.
- Column 안에 그린다면 위아래로 줄을 세울 수도 있다.
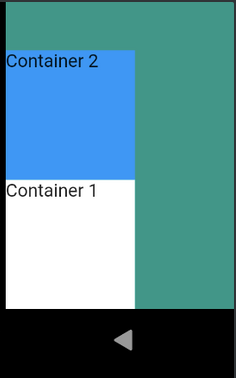
child: Column(
            verticalDirection:
						VerticalDirection.up,
// 컨테이너들을 아래에서 출발시킬 수 있다.
//(올라간다는 느낌)- mainAxisAlignmet, crossAxisAlignment 등의 옵션으로 컨테이너들의 배치를 자유롭게 구성할 수 있다.
- SizedBox() 객체로 빈 공간을 넣을 수 있다.
Mi Card 앱을 만들어 보자!
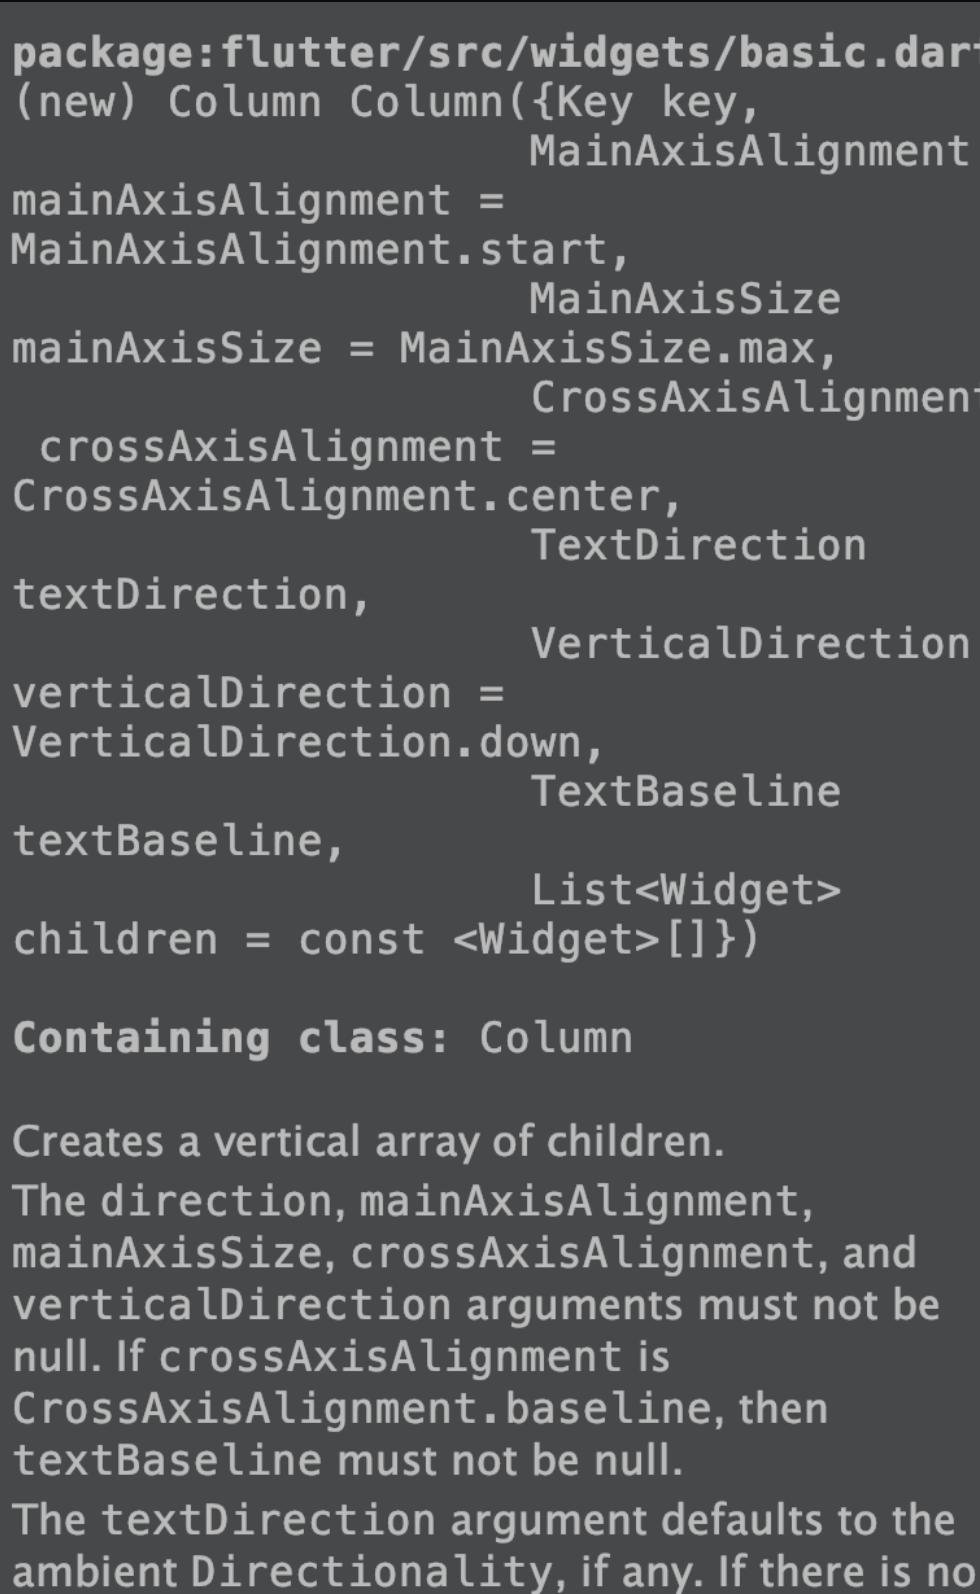
-
ctrl + j 단축키를 사용하면 quick documentation이 나온다.
실습 진행
CircleAvatar(
                radius: 50.0,
                backgroundImage: AssetImage('images/me.jpeg'),
              ),
//나의 프로필 이미지로 된 원 아바타를 만든다.

Text(
                  'Ji Won',
                style: TextStyle(
                  color: Colors.white,
                  fontSize: 40.0,
                  fontWeight: FontWeight.bold,
                ),
//프로필 밑에 나의 이름을 새긴다.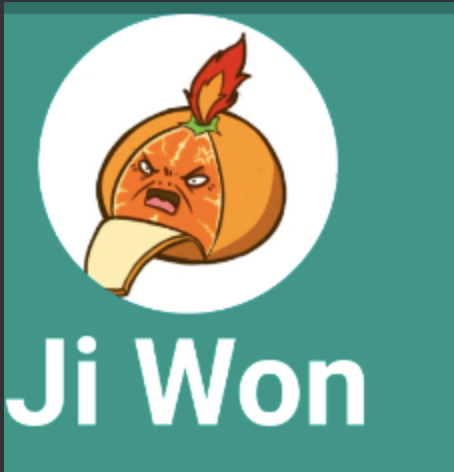
폰트 변경
-
위 사이트에서 다운로드 받을 수 있다.
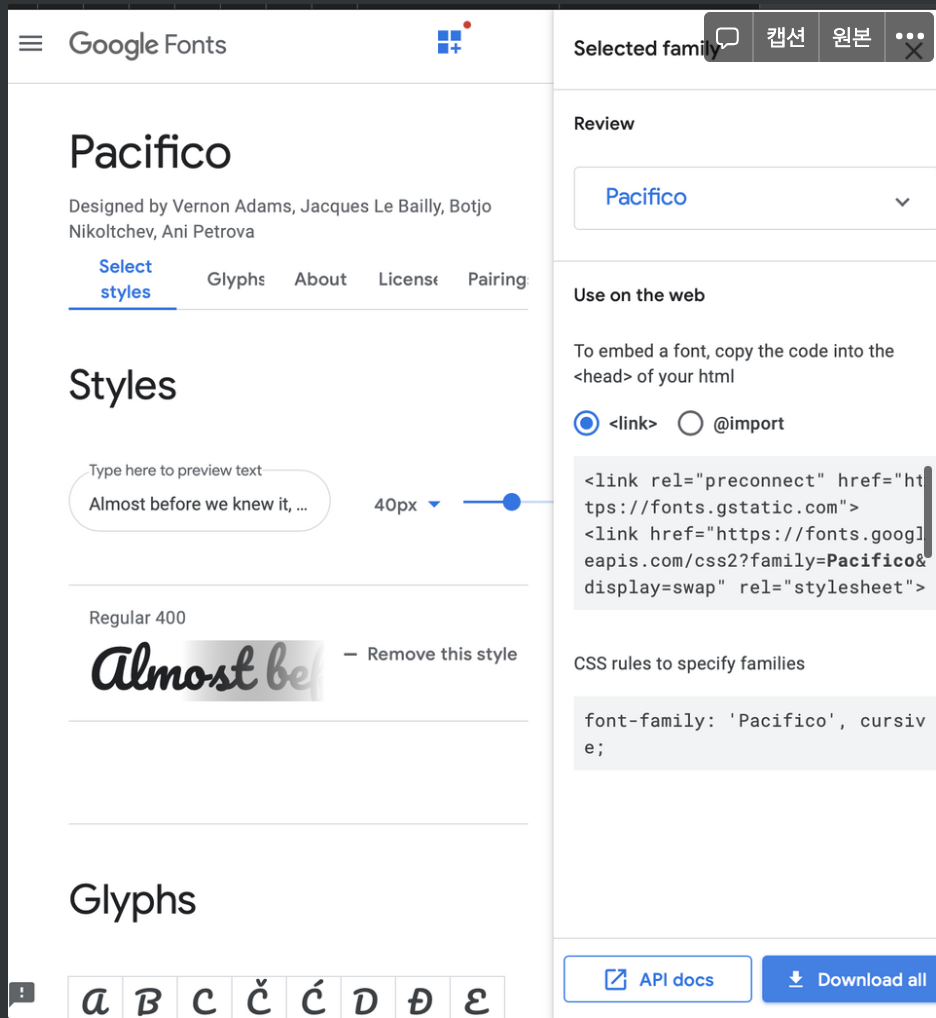
- 우측 하단 download all 버튼으로 ttf 파일을 다운로드 받는다.
-
다운로드 받은 ttf 파일을 새로 생성한 fonts 파일에 집어 넣는다.
- 위 문서에서 폰트 변경법에 대한 설명을 알 수 있다.
fonts:
    - family: Pacifico
      fonts:
        - asset: fonts/Pacifico-Regular.ttf
//설명에 따라 yaml 파일을 변경한다.
//여러 family를 추가할 수도 있다.
(pubspec.yaml)
Text(
                  'Ji Won',
                style: TextStyle(
                  color: Colors.white,
                  fontFamily: 'Pacifico',
                  fontSize: 40.0,
                  fontWeight: FontWeight.bold,
                ),
Text(
                'FLUTTER DEVELOPER',
                style: TextStyle(
                  fontFamily: 'Hack',
                  color: Colors.teal.shade100,
                  fontSize: 20.0,
                  letterSpacing: 2.5,
                  fontWeight: FontWeight.bold,
                ),
// fontFamily: 'Pacifico' 를 추가한 뒤, 다시 빌드한다.
아이콘 위젯 넣기
-
위 사이트에서 여러 아이콘의 이름을 확인할 수 있다.
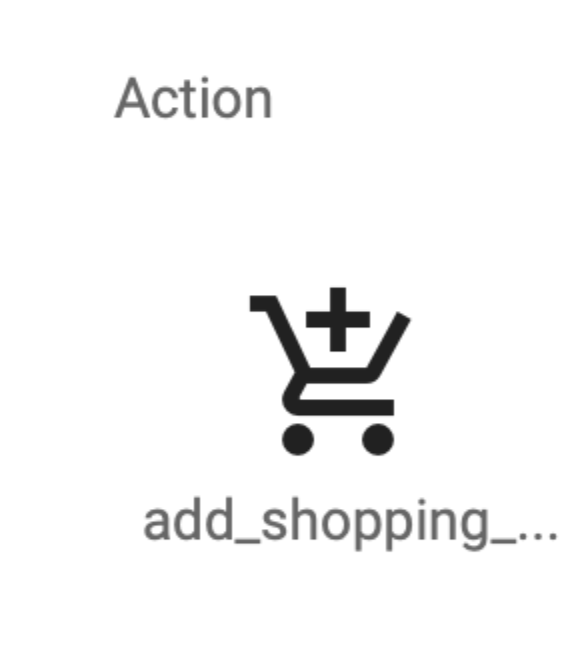
children: <Widget>[
                    Icon(
                      Icons.add_shopping_cart,
                      color: Colors.teal.shade900,
                    ),
// 아이콘 위젯 역시 색깔, 크기, 등 스타일을 바꿀 수 있다.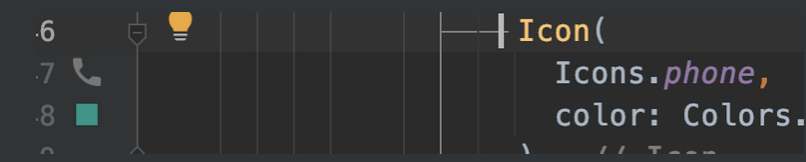
-
어떤 아이콘인지 왼쪽에 작고 귀엽게 나온다.
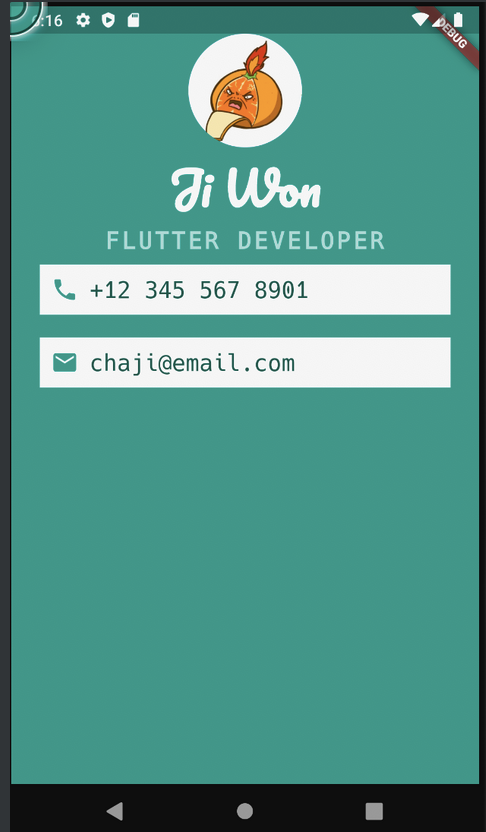
-
앞서 배운 내용을 활용하여 나의 정보를 두 줄 추가했다.
Container(
                padding: EdgeInsets.all(10.0),
                color: Colors.white,
                margin: EdgeInsets.symmetric(vertical: 10.0, horizontal: 25.0),
                child: Row(
                  children: <Widget>[
                    Icon(
                      Icons.email,
                      color: Colors.teal,
                    ),
                    SizedBox(
                      width: 10.0,
                    ),
                    Text(
                      'chaji@email.com',
                      style: TextStyle(
                        color: Colors.teal.shade900,
                        fontFamily: 'Hack',
                        fontSize: 20.0,
                      ),
                    )
                  ],
                ),
              )
Card class
-
Container 클래스로 짠 프로필을 Card로 바꾸는 실습을 진행한다.
-
Card class로 바꾸면 padding을 설정하는 코드에서 오류가 발생한다.
-
child : Padding을 추가해 이 문제를 해결할 수 있다.
-
Row객체에서 opt + ENTER 키를 통해 padding으로 감싼다.
-
Card 객체를 Padding 객체로 감싼 모습이다.
- 아래 사진과 여백의 차이를 볼 수 있다.
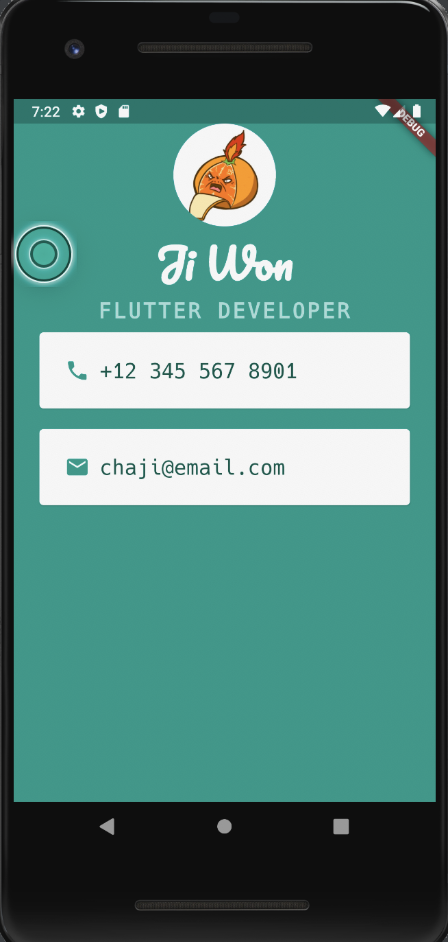
- Row 객체를 Padding 객체로 감싼 모습이다.
child: Padding(
                  padding: EdgeInsets.all(25.0),
                  child: Row(
                    children: <Widget>[
                      Icon(
                        Icons.phone,
                        color: Colors.teal,
                      ),
                      SizedBox(
                        width: 10.0,
),- Row 객체로 만든 프로필
Card(
                // padding: EdgeInsets.all(10.0),
                color: Colors.white,
                margin: EdgeInsets.symmetric(vertical: 10.0, horizontal: 25.0),
                child: Padding(
                  padding: EdgeInsets.all(25.0),
                  child: Row(
                    children: <Widget>[
                      Icon(
                        Icons.email,
                        color: Colors.teal,
                      ),
                      SizedBox(
                        width: 10.0,
                      ),
                      Text(
                        'chaji@email.com',
                        style: TextStyle(
                          color: Colors.teal.shade900,
                          fontFamily: 'Hack',
                          fontSize: 20.0,
                        ),
                      )
                    ],
                  ),
                ),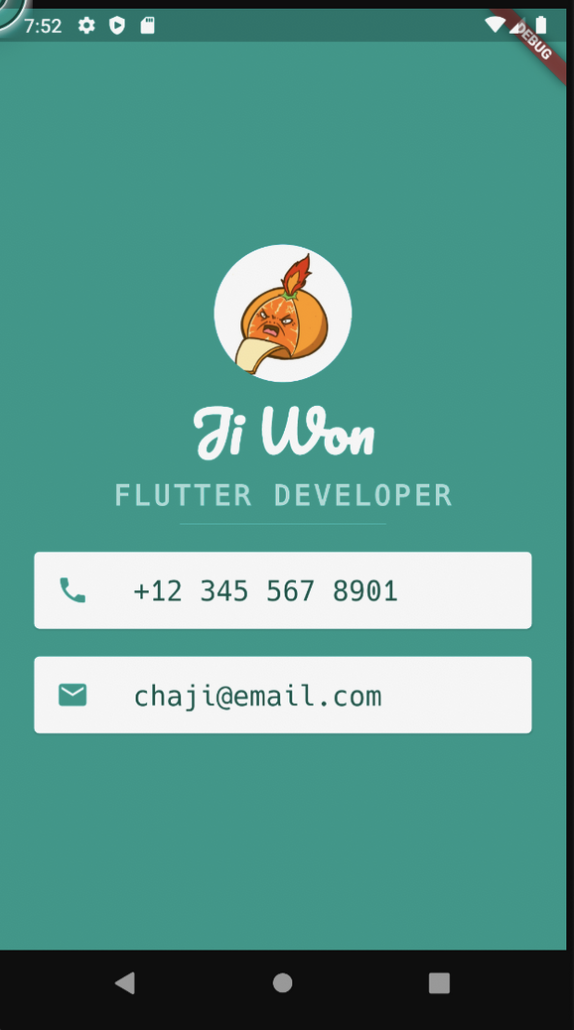
),- ListTile로 만든 프로필
Card(
              color: Colors.white,
              margin: EdgeInsets.symmetric(vertical: 10.0, horizontal: 25.0),
              child: ListTile(
                leading: Icon(
                  Icons.email,
                  color: Colors.teal,
                ),
                title: Text(
                  'chaji@email.com',
                  style: TextStyle(
                    color: Colors.teal.shade900,
                    fontFamily: 'Hack',
                    fontSize: 20.0,
                  ),
                ),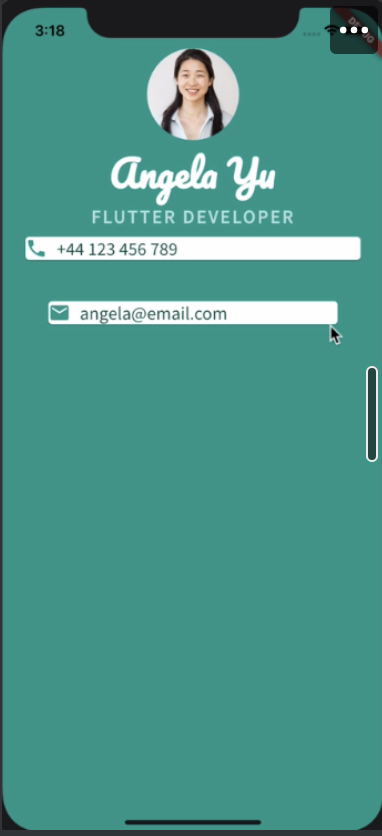
)),-
훨씬 간결한 모습을 볼 수 있다.
-
Sizebox와 mainAxisAlignment를 통해 더 깔끔하게 만들 수 있다.
-
결과 코드
import 'dart:io';

import 'package:flutter/material.dart';

void main() {
  runApp(MyApp());
}

class MyApp extends StatelessWidget {
  @override
  Widget build(BuildContext context) {
    return MaterialApp(
        home: Scaffold(
      backgroundColor: Colors.teal,
      body: SafeArea(
          child: Column(
            mainAxisAlignment: MainAxisAlignment.center,
        children: <Widget>[
          CircleAvatar(
            radius: 50.0,
            backgroundImage: AssetImage('images/me.jpeg'),
          ),
          Text(
            'Ji Won',
            style: TextStyle(
              color: Colors.white,
              fontFamily: 'Pacifico',
              fontSize: 40.0,
              fontWeight: FontWeight.bold,
            ),
          ),
          Text(
            'FLUTTER DEVELOPER',
            style: TextStyle(
              fontFamily: 'Hack',
              color: Colors.teal.shade100,
              fontSize: 20.0,
              letterSpacing: 2.5,
              fontWeight: FontWeight.bold,
            ),
          ),
          SizedBox(
            height: 20.0,
            width: 150.0,
            child: Divider(
              color: Colors.teal.shade100,
            ),
          ),
          Card(
            // padding: EdgeInsets.all(10.0),
            color: Colors.white,
            margin: EdgeInsets.symmetric(vertical: 10.0, horizontal: 25.0),
            child: ListTile(
              leading: Icon(
                Icons.phone,
                color: Colors.teal,
              ),
              title: Text(
                '+12 345 567 8901',
                style: TextStyle(
                  color: Colors.teal.shade900,
                  fontFamily: 'Hack',
                  fontSize: 20.0,
                ),
              ),
            ),
          ),
          Card(
              color: Colors.white,
              margin: EdgeInsets.symmetric(vertical: 10.0, horizontal: 25.0),
              child: ListTile(
                leading: Icon(
                  Icons.email,
                  color: Colors.teal,
                ),
                title: Text(
                  'chaji@email.com',
                  style: TextStyle(
                    color: Colors.teal.shade900,
                    fontFamily: 'Hack',
                    fontSize: 20.0,
                  ),
                ),
              )),
        ],
      )),
    ));
  }
}
https://github.com/londonappbrewery/mi_card_flutter
londonappbrewery/mi_card_flutter
Starter code for the Mi Card Project from the Complete Flutter Development Bootcamp - londonappbrewery/mi_card_flutter
github.com
Google Fonts
Making the web more beautiful, fast, and open through great typography
fonts.google.com
https://flutter.dev/docs/cookbook/design/fonts#from-packages
Use a custom font
How to use custom fonts.
flutter.dev
https://material.io/resources/icons/?style=baseline
Material Icons
Get Material Icons
material.io
https://github.com/Cha-Ji/Flutter_Study
Cha-Ji/Flutter_Study
flutter를 시작해 봅시다. Contribute to Cha-Ji/Flutter_Study development by creating an account on GitHub.
github.com
'Flutter' 카테고리의 다른 글
| [Flutter - 1team] 섹션 9 : Xylophone - Using Flutter and Dart Packages to Speed Up Development (0) | 2020.12.25 |
|---|---|
| [Flutter - 1team]섹션 7 : Dicee - Building Apps with State (0) | 2020.11.29 |
| [Flutter - 1team] 섹션 5: I Am Poor (0) | 2020.11.23 |
| [Flutter - 1team] 섹션 4 : 실제 기기에서 빌드해보기 (0) | 2020.11.23 |
| [Flutter - 1team] 섹션 3 : I Am Rich - How to CreateFlutter Apps From Scratch (0) | 2020.11.13 |


